
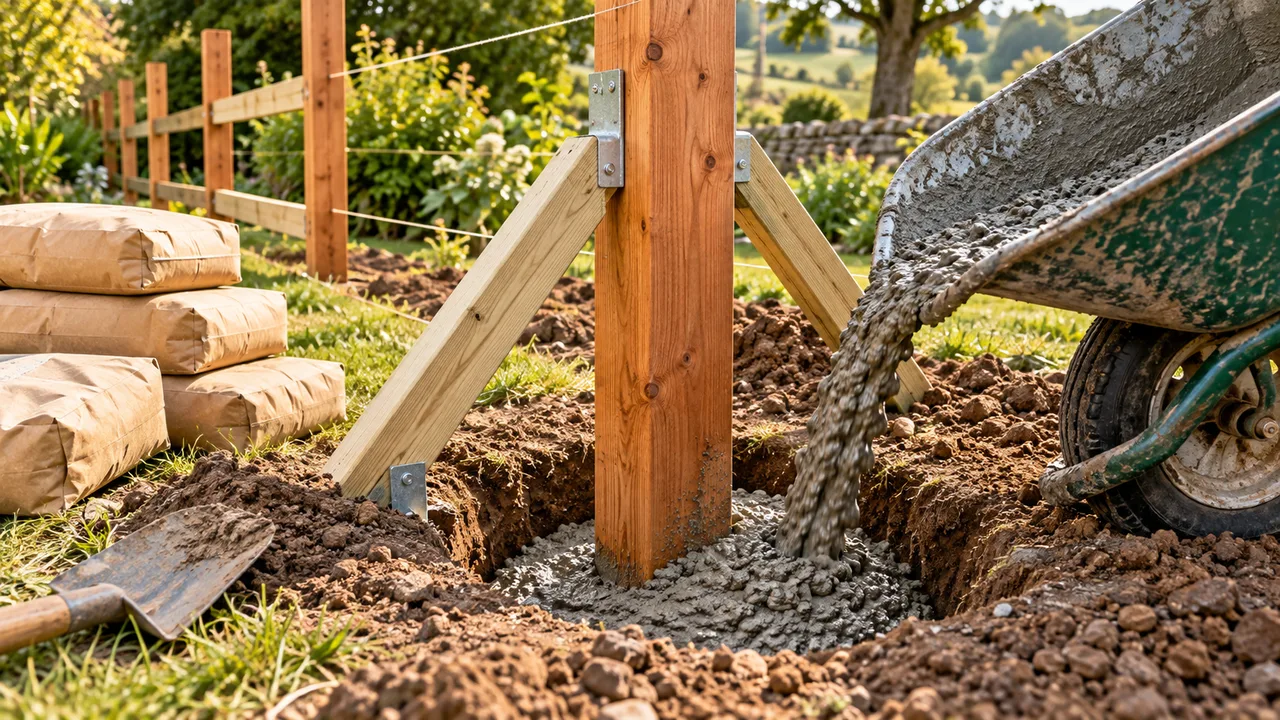
Calculate volume first, then divide by the bag yield
There is no dependable universal answer such as “one bag per post.” A narrow shallow hole may use less, while a large terminal-post footing may consume several bags. Package sizes do not guarantee identical yield, and required footing dimensions vary with fence height, wind exposure, soil, frost, post type, gate loads, and local rules.
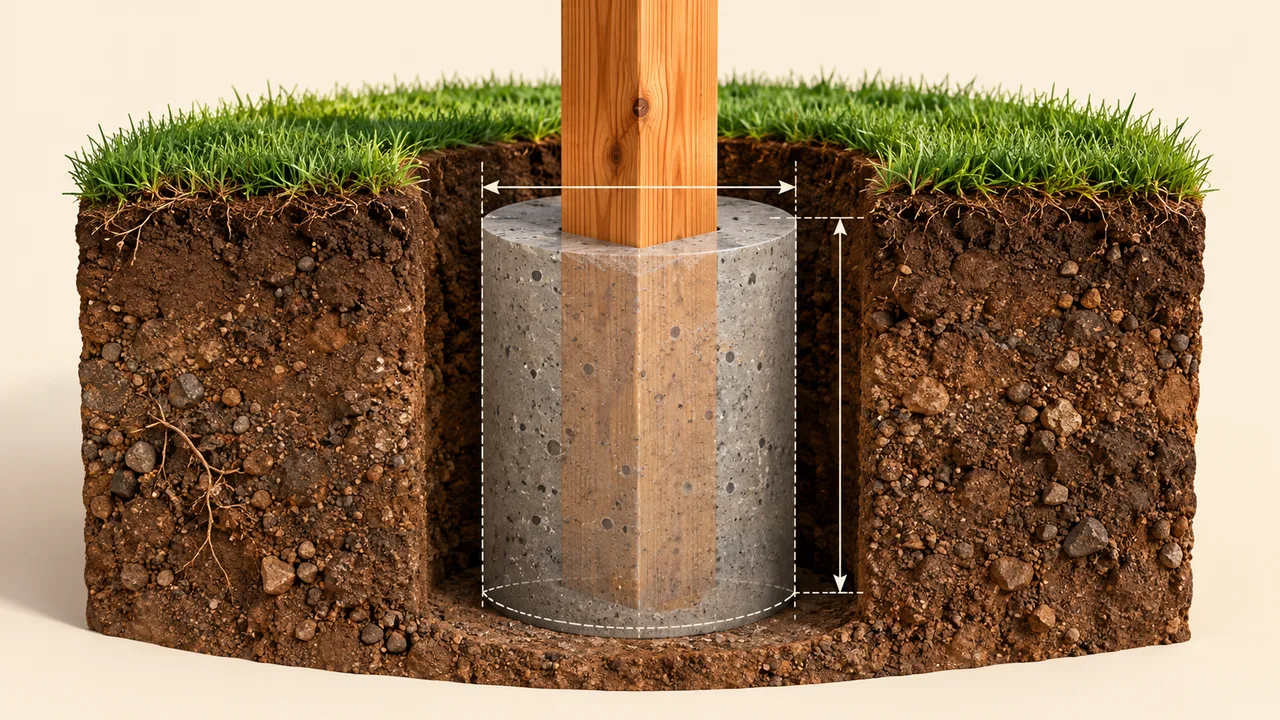
For a round hole, first calculate its cylindrical volume. Convert the diameter to feet, divide by two to get radius, then use π × radius² × depth. Multiply by the number of posts. Our calculator treats that full cylinder as concrete and does not subtract the post volume. That gives a modest planning buffer and matches the conservative method used by the main Build ARG046 fence calculator.
Next apply a waste allowance for uneven holes, spillage, over-excavation, and yield variation. Divide the adjusted cubic-foot volume by the yield printed on the specific bag you plan to buy, then round up to a whole bag. If different posts use different hole sizes—gate posts versus line posts, for example—calculate each group separately and add the whole-bag totals.
The quick calculator below accepts US customary dimensions because bag yields are often listed in cubic feet. Metric users can convert diameter and depth to feet or use the full Fence Material Calculator, which supports metric run and hole inputs while keeping concrete volume transparent.
Choose hole diameter and depth from real requirements
The calculator can multiply dimensions, but it cannot decide which dimensions are structurally adequate. Start with the fence or post manufacturer’s instructions and applicable local requirements. A common rule of thumb may describe hole width as several times the post width or embedment as a fraction of the exposed height, but rules of thumb are not substitutes for a permitted design, frost-depth requirement, or engineered detail.
Measure the actual excavation, not only the auger name. Soil can slough from the wall, rocks can force the bit sideways, and hand-cleaning can widen the top. A nominal 12-inch auger does not ensure a perfect 12-inch cylinder. Measure more than one representative hole, particularly when conditions change across the yard.
Depth is the concrete-filled depth used in the estimate. If the detail calls for a gravel drainage layer beneath the post, do not count that gravel thickness as concrete. If the concrete stops below grade to allow soil or another finish above it, use the actual concrete height. Conversely, a crowned top extending above grade adds some volume, though usually less than the variation created by irregular excavation.
Terminal, corner, and gate posts often need different footings from line posts. Create groups such as eight line-post holes, two corner holes, and two gate-post holes. Calculate each group with its own diameter and depth. This takes a minute longer and is far more useful than multiplying one average footing across posts that perform very different structural jobs.
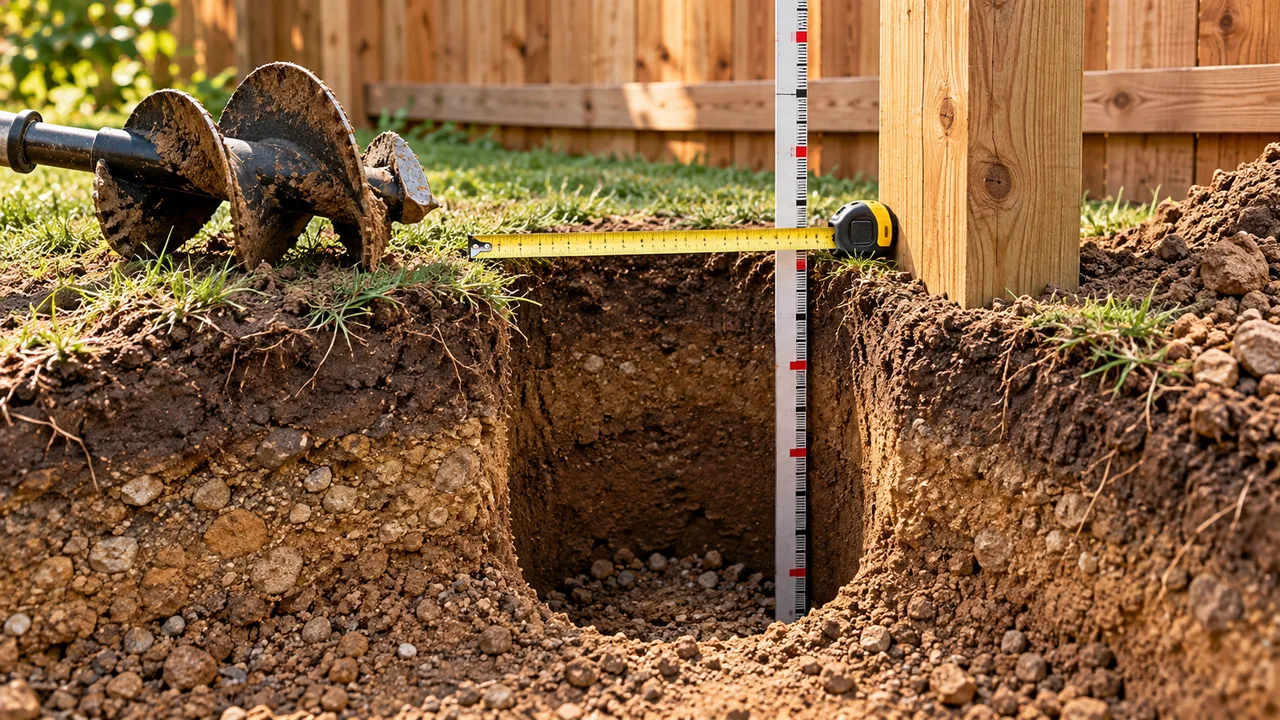
Understand the cylindrical volume formula
Concrete volume for a round post hole is the area of the circular base multiplied by height. In symbols, V = πr²h. When diameter is measured in inches and depth in feet, radius in feet is diameter ÷ 24. For a 12-inch-diameter, 3-foot-deep hole, radius is 0.5 feet. Volume is π × 0.5² × 3, which is about 2.36 cubic feet per hole.
Ten identical holes therefore have a gross volume of about 23.56 cubic feet. Adding 10 percent produces an order volume near 25.92 cubic feet. If the selected bag states a 0.60-cubic-foot yield under the specified mixing conditions, divide 25.92 by 0.60 and round up: 44 bags.
Why not subtract the wooden or steel post? Mathematically, the embedded post displaces concrete. In a perfectly formed cylinder, subtracting its embedded volume can refine the figure. Real holes, however, are rarely perfect: sides flare, loose material is removed, the surface is crowned, and some mix remains in tools. For a general planning calculator, gross hole volume is simpler to verify and less likely to leave the crew short. The article’s result clearly labels that assumption.
If your project has many large, carefully formed footings, concrete volume and delivery method deserve a more detailed takeoff. Compare bag mixing with ready-mix access, minimum loads, short-load charges, working time, crew capacity, and site access. The geometry stays the same even when the delivery format changes.
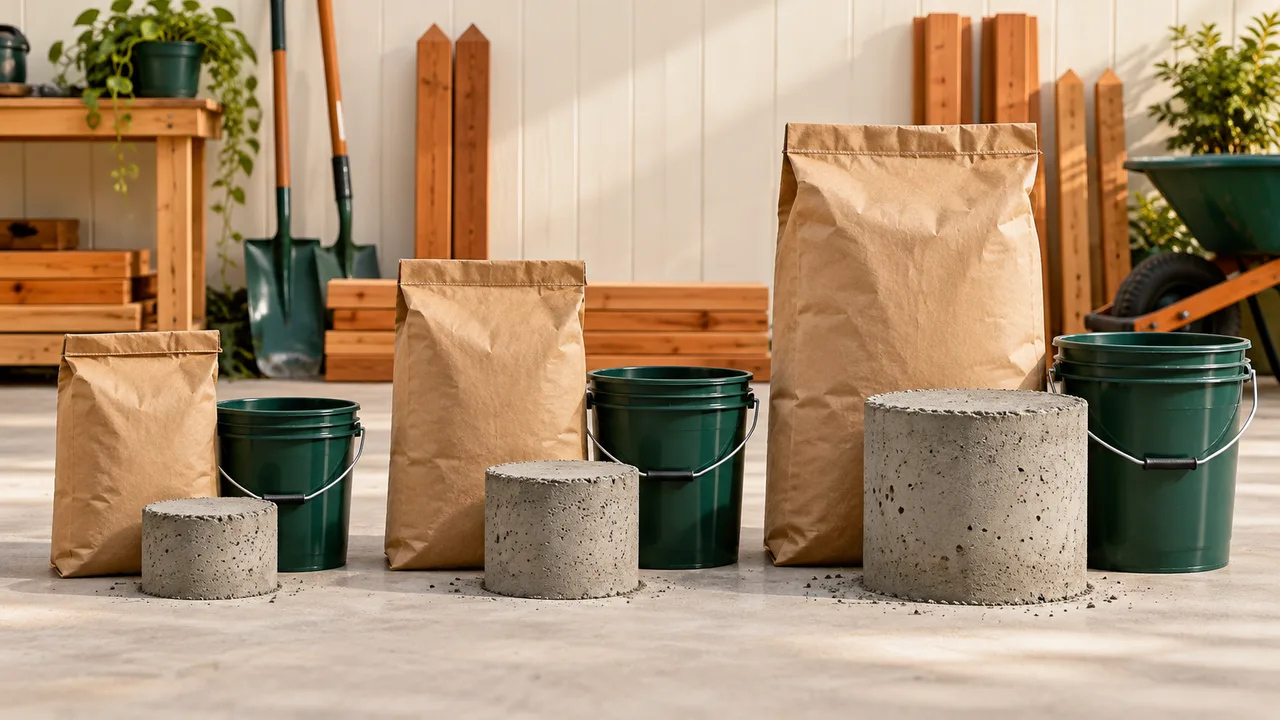
Read the package yield instead of assuming bag size
Bag weight is not the same as placed volume. Mix formulations, aggregate, regional packaging, and units vary. Find the manufacturer’s stated yield for the exact product and bag size. Use the yield under the recommended water content, not a number remembered from a different brand or copied from an unrelated chart.
Keep every unit consistent. If the hole volume is in cubic feet, enter bag yield in cubic feet. A cubic yard contains 27 cubic feet. One cubic metre is about 35.315 cubic feet. Avoid converting early and repeatedly; write the original values and one clear conversion path on the takeoff sheet so another person can check it.
Round only the final bag count up. Rounding every intermediate volume aggressively can inflate a large order. Preserve several decimal places through the formula, apply the allowance, divide by yield, and then use the ceiling function. For multiple footing groups, rounding each group up is conservative and practical because partial bags may not transfer neatly between separate mixes.
Store bags dry and off the ground. Hardened or moisture-damaged material should not be treated as usable yield. If transport or storage risk is significant, handle that as a purchasing decision rather than silently changing the geometry. Recording “calculated bags,” “site allowance,” and “extra stock” separately keeps the estimate honest.
Plan mixing, placement, bracing, and curing
A correct bag count does not guarantee a durable footing. Follow the concrete and fence-system instructions for water quantity, mixing method, placement, consolidation, temperature range, and curing. Excess water may make placement feel easier but can reduce quality. Dry-pour methods are product-specific; do not assume every bagged mix may be dumped dry and watered from above.
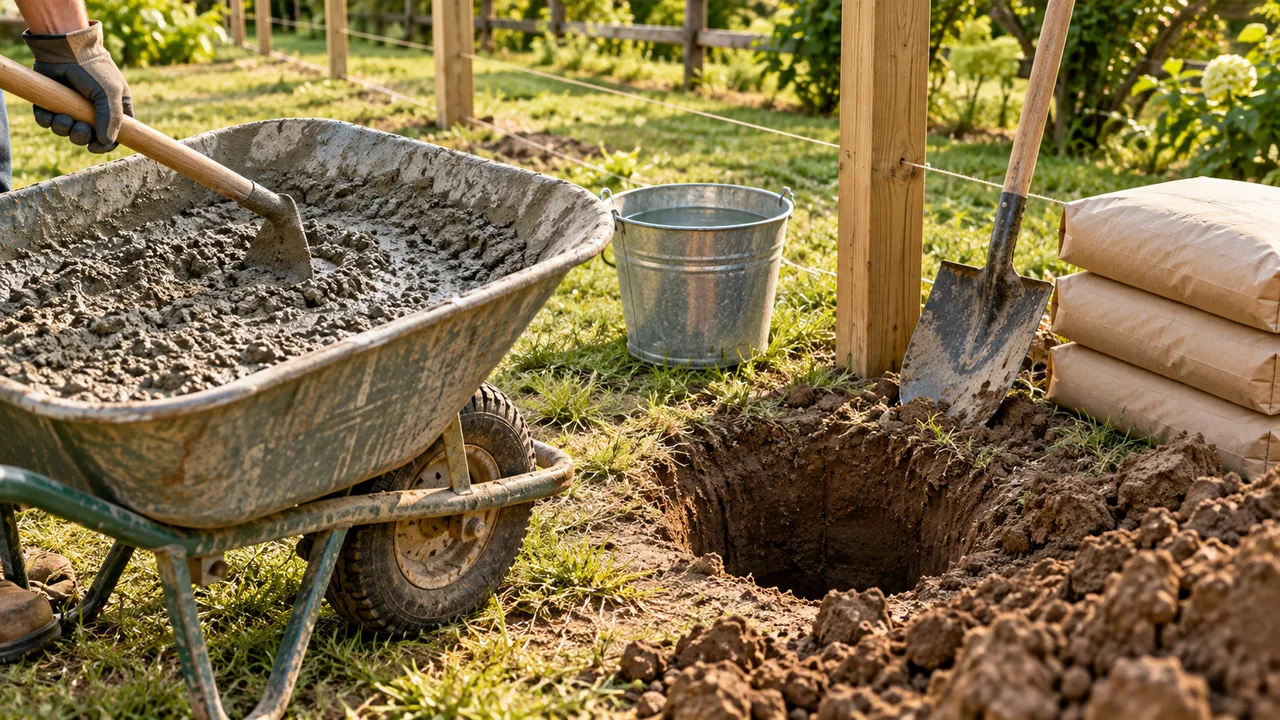
Prepare before opening bags. Remove loose soil and standing water as required, place the post, verify the correct center, and brace it plumb in two directions. Organize water, mixer or wheelbarrow, hoe, shovel, safety equipment, and cleanup. Concrete work becomes rushed when layout decisions are still being made during the pour.
Place material in a controlled way that does not push the post off line. Recheck the string, spacing, elevation, and plumb while the mix remains adjustable. Finish the top according to the approved detail, often sloping it to shed water away from a wood post rather than forming a bowl that holds moisture. Keep the footing from obstructing drainage or creating a trip hazard.
Respect cure time before attaching heavy panels or hanging a gate. Early strength is not final strength, and cold weather can slow development. Product instructions and site conditions should determine when the post may be loaded. A gate post deserves particular patience because hinge leverage can move a footing that appears firm at the surface.
Account for drainage, frost, soil, and local code
Water and frost can move posts even when the arithmetic is perfect. Local frost depth may control how deep a footing must extend. Expansive clay, saturated ground, loose fill, and poor drainage can require a different foundation strategy. Ask the permitting authority or a qualified local professional which rules apply; climate labels on a generic national article cannot describe an individual site.
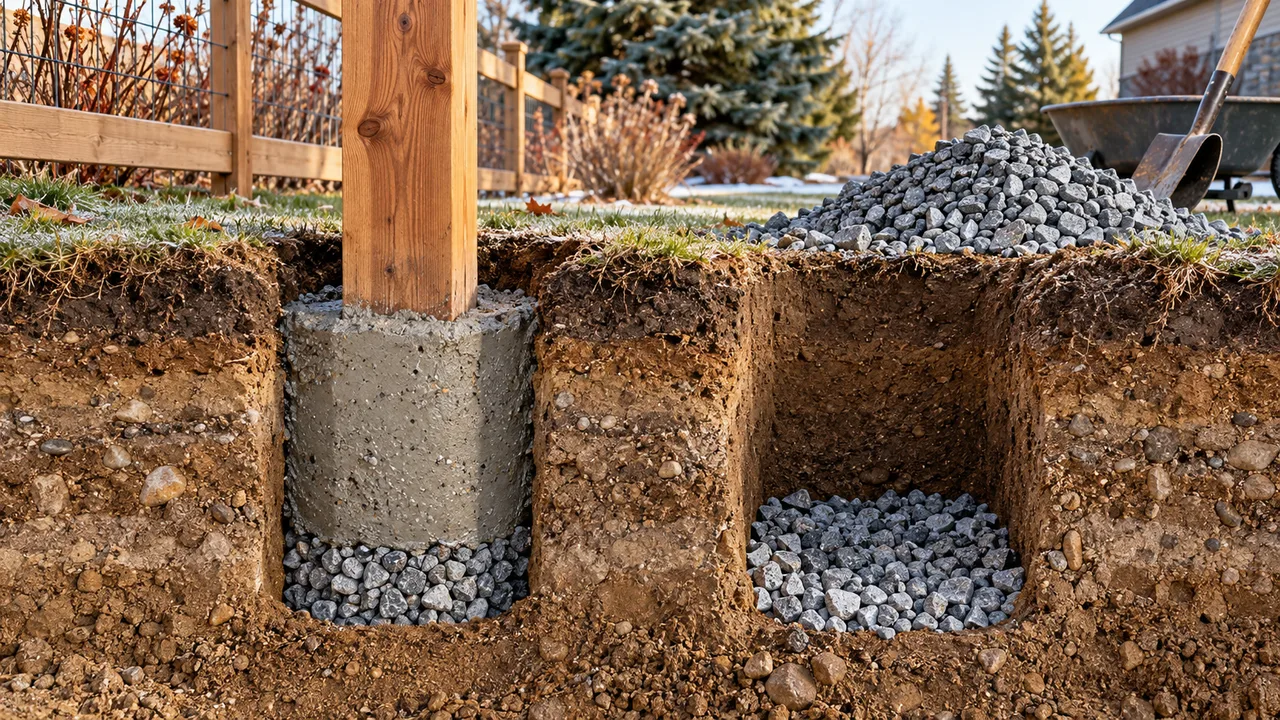
A gravel layer may be specified to support drainage and provide a clean base, but it does not automatically solve every moisture problem. The surrounding soil must have somewhere for water to go. In some systems, encasing the bottom of a wood post can trap moisture; in others, concrete geometry and treatment are prescribed. Follow the compatible detail for the exact post material and preservation rating.
Do not dig until buried utilities are located using the official service for your region. Also consider irrigation, private wiring, drainage pipes, septic systems, and owner-installed lines that a public locate may not mark. Move the layout or obtain professional direction rather than excavating through an unresolved conflict.
Pool barriers, guard-like conditions, high fences, wind-exposed sites, and large gates can have special requirements. Concrete quantity is only one line in that design. If failure could cause injury or significant damage, the post, footing, hardware, and fence assembly should be reviewed as a system.
A complete example and ordering checklist
Suppose a project has twelve line posts with 10-inch-diameter holes 30 inches deep, plus two gate posts with 14-inch-diameter holes 42 inches deep. Calculate the groups separately. The line-post group has a radius of 5/12 feet and a depth of 2.5 feet, producing about 1.36 cubic feet per hole and 16.36 cubic feet total. The gate-post group has a radius of 7/12 feet and a depth of 3.5 feet, producing about 3.74 cubic feet per hole and 7.48 cubic feet total.
Combined gross volume is about 23.84 cubic feet. With a 10 percent allowance, the order volume is about 26.22 cubic feet. At a hypothetical package yield of 0.60 cubic feet—used only to demonstrate the formula—the calculation is 43.7, rounded up to 44 bags. Replace that sample yield with the number on the actual package, and replace every sample dimension with the approved field dimensions.
Before buying, verify:
- Post count matches the dimensioned fence layout.
- Line, corner, terminal, and gate footings are grouped by size.
- Diameter and concrete-filled depth match approved requirements.
- All measurements and bag yield use compatible volume units.
- The allowance reflects irregular holes and realistic handling loss.
- Bags are rounded up and can be transported and stored dry.
- Mixing capacity, water access, bracing, weather, and cure time are planned.
Save the calculation with the package information and site sketch. If a supplier changes the product, update the yield rather than assuming the old bag count still applies. Transparent inputs make the estimate easy to revise without starting over.